
Pruning
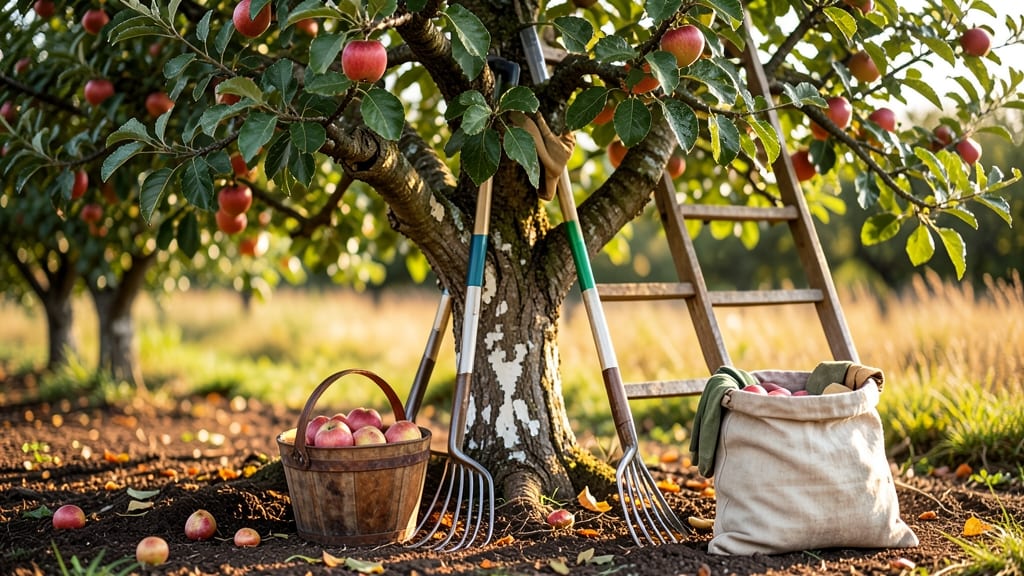
Picking fruit from the fruit tree at the perfect moment turns a good harvest into an exceptional one. 🌿 The difference between mealy apples and sweet, juicy ones often comes down to timing and technique—something I learned the hard way after picking my first peaches too early (and regretting it all winter).
Every fruit has its own ripeness cues: apples blush red, peaches soften slightly, and citrus releases easily from the tree. The key is checking firmness, color, and scent—plus knowing your tree’s typical harvest window.
My June-bearing strawberries peak in one week of heat, while Bartlett pears need a light frost to sweeten properly.
You’ll end up with fruit that stores well, tastes incredible, and keeps your trees healthy for next season. The right tools—a sturdy ladder, sharp pruners, and harvest containers—make all the difference in keeping fruit intact and your back happy.
Works for backyard orchards, container-grown citrus, or even a single apple tree. Here’s how to nail it every time—without the guesswork.
📚 In This Guide
- What you need
- Instructions
- Tips and common mistakes
- Wrapping up and next steps
What you need
- ● Pruning shears: Bypass shears (for clean cuts) or anvil shears (for thicker branches). Specs: 6–8" blades, sharp, and ergonomic for comfort.
- ● Loppers: For branches ½–2" thick. Specs: 18–24" long handles, bypass-style for precision.
- ● Pruning saw: For branches >2" thick. Specs: Curved blade, non-slip grip, and a sharp tooth count (8–10 TPI).
- ● Gloves: Heavy-duty, cut-resistant (e.g., leather or synthetic blend) to protect hands from thorns and sharp tools.
- ● Disinfectant (70% isopropyl alcohol or bleach solution): Clean tools between cuts to prevent disease spread.
- ○ Pruning sealant: Optional but helpful for sealing larger wounds (e.g., tree wound paint or beeswax-based products).
- ● Ladder or step stool: Sturdy, extendable, and rated for your height/weight (e.g., 20–30 ft for tall trees).
- ● Safety gear: Safety glasses, long sleeves, and closed-toe shoes to protect from debris and branches.
- ● Extension pole saw: For high branches without a ladder (e.g., 10–15 ft reach).
- ● Tree bag or tarp: Collect fallen branches or fruit efficiently.
- ● Notebook & pen: Track pruning notes, tree health, or seasonal reminders.
- ● Pole pruners: For hard-to-reach areas (e.g., 6–10 ft reach).
- ● Tree pruning spray (copper fungicide): Prevent fungal issues if your area is prone to disease.
Step-by-Step guide to fruit tree picking for season-long success
Harvesting fruit at its peak takes timing, technique, and a little pruning know-how. Here's how to keep your trees productive all season.
✂️ Step 1: Prune for Airflow and Light in Early Spring
Start your season with a clean slate by pruning just before buds swell—usually in late winter or early spring. Remove any dead, diseased, or crossing branches first. I always look for branches rubbing against each other; these will eventually tear and create entry points for pests.
Next, thin out the canopy by cutting back branches that grow inward or downward. Aim to keep the center of the tree open—this ensures sunlight reaches all fruit and prevents humidity buildup, which invites fungal diseases. You'll know you're doing it right when you can see light filtering through the branches on a sunny day.
🌱 Step 2: Monitor Fruit Set and Thin Early Blooms
After flowering, wait 2-3 weeks to assess fruit set. If branches are overloaded with fruit, they'll produce small, poor-quality harvests. Gently twist off excess fruit, leaving only the largest, healthiest specimens spaced 6-8 inches apart on each branch.
Real talk: This step is tough because you're essentially "wasting" fruit, but it guarantees bigger, sweeter harvests later. Focus on keeping fruit evenly distributed—don't let one branch bear all the weight. You'll see the difference in flavor and size when harvest time comes.
☀️ Step 3: Harvest at Peak Ripeness Using the Right Technique
Timing matters most here. Most fruit is ready when it separates easily from the tree with a gentle twist. Apples and pears should yield slightly when lifted. Stone fruits like peaches and plums release naturally when ripe. Harvest in the coolest part of the day—early morning works best—to preserve freshness.
Use clean, sharp pruners or shears to avoid damaging branches. Never pull fruit downward; this can tear the branch. Instead, twist gently or cut the stem cleanly. You'll know you've timed it right when the fruit smells sweet and feels slightly soft to the touch.
⏰ Step 4: Post-Harvest Pruning for Winter Preparation
After harvest, conduct a final pruning to remove any remaining dead wood, suckers, or branches that didn't produce fruit. This is also the time to shape the tree for next year's growth. Cut back any branches that grew excessively during the season to maintain balance.
I like to prune in late fall, just before the first hard frost. This gives the tree time to heal before winter sets in. Avoid heavy pruning in late fall, though—just enough to clean up and prepare for dormancy. You'll see stronger growth in spring when you do it this way.
🌿 Step 5: Maintain Season-Long Health With Regular Checks
Throughout the growing season, inspect your tree weekly for pests, diseases, or signs of stress. Remove any infected leaves or fruit immediately to prevent spread. Water deeply once a week during dry spells, aiming for 1-2 inches of water per week. Mulch around the base to retain moisture and regulate soil temperature.
Pay attention to the tree's overall health—leaves should be vibrant, and branches should feel firm. If you notice yellowing leaves or stunted growth, it might be time to adjust your care routine. A healthy tree is your best guarantee for a bountiful harvest year after year.
Tips & tricks for perfect fruit tree picking
A few small adjustments can transform your fruit harvest from decent to extraordinary. These are the tricks I've learned after years of trial and error in my own orchard.
Pruning Precision: When you're pruning in Step 1, look for branches that are growing at sharp angles—these are called "water sprouts" and should be removed completely. I also recommend using a 3:1 ratio when thinning branches: for every 3 inches of old wood, keep just 1 inch of new growth. This maintains the tree's natural shape while encouraging new fruit-bearing branches. The key is to make clean cuts just outside the branch collar where the branch meets the trunk—this prevents unsightly stubs and promotes faster healing.
Fruit Set Strategy: In Step 2, the 2-3 week wait after flowering is crucial—this gives you time to assess which fruit will thrive. Here's what I do: I look for fruit that's slightly larger than others and positioned where it gets good airflow. If you're unsure about spacing, use a ruler to measure 6-8 inches between each piece of fruit. This might feel wasteful at first, but trust me, the remaining fruit will be sweeter and larger than if you left everything on the tree. You can always save the smaller fruit for jams or sauces!
Harvest Timing: The early morning harvest in Step 3 is non-negotiable for preserving freshness. I've found that fruit harvested in the morning stays crisp for nearly double the time compared to afternoon harvests. Pro tip: Bring a small bucket of ice water with you while picking—submerge your fruit for 5-10 minutes after harvesting to slow down the ripening process. For stone fruits like peaches, look for that slight give when you press gently near the stem—this is your best indicator of ripeness beyond the twist test.
Tool Maintenance: Your pruners and shears are only as good as their sharpness. Before you start any pruning in Steps 1 or 4, take 2 minutes to sharpen your tools with a file or whetstone. Dull blades crush stems instead of making clean cuts, which can damage the tree and invite disease. I also recommend cleaning your tools with rubbing alcohol between trees if you're working with multiple varieties—this prevents cross-contamination of any potential diseases.
Pro Tips for Fruit Tree Picking
- A few small adjustments can transform your fruit harvest from decent to extraordinary. These are the tricks I've lear...
- Pruning Precision: When you're pruning in Step 1, look for branches that are growing at sharp angles—these are called...
- Fruit Set Strategy: In Step 2, the 2-3 week wait after flowering is crucial—this gives you time to assess which fruit...
Frequently asked questions
Got questions about fruit tree picking? You’re not alone! Here are some of the most common concerns—and their answers—to help you master the harvest.
When is the best time to pick fruit from a tree?
The ideal time depends on the fruit, but most are ready when they’re fully colored, slightly soft to the touch, and easy to pluck without resistance. For example, peaches and nectarines ripen in late summer, while apples and pears may need a light twist or gentle tug. Pro tip: Use your nose—ripe fruit often emits a sweet, fragrant aroma!
How do I know if my fruit tree is ready for picking?
Look for visual cues like vibrant color, a slight give when pressed gently, and separation from the stem (a "stem slip" test). For stone fruits, a slight blush or change in hue signals ripeness. If birds or pests are feasting on your fruit, it’s past time—act fast! Warning: Overripe fruit may spoil quickly, so don’t delay.
Can I pick fruit without damaging the tree?
Use sharp, clean pruners or scissors to avoid tearing branches. For delicate fruits like cherries, hand-pick to prevent bruising. Always leave a small stem attached—it helps the fruit ripen evenly and reduces spoilage. Bonus: Wear gloves to protect your hands from thorns or sap.
What should I do if my fruit falls off before it’s ripe?
This usually means the tree is stressed—check for pests, disease, or improper watering. Thin out excess fruit early in the season to improve ripeness for the remaining harvest. If it’s too late, try picking early and letting the fruit ripen indoors in a paper bag with a banana (the ethylene gas speeds it up!).
Are there any tools I need for fruit tree picking?
Basic tools include pruners, a ladder (for tall trees), and harvest baskets or buckets. For sticky fruits like figs, wear old clothes and bring a towel. A fruit picker (a long pole with a basket) can help with high branches. Safety first: Never stand on wobbly ladders—opt for a sturdy step stool instead.
Wrapping up and next steps
Fruit tree picking success starts with pruning precision—timing, technique, and tools all play a pivotal role in ensuring a bountiful harvest.
By mastering the art of pruning, you’ll not only boost fruit quality but also extend the life of your trees. Now’s your chance to roll up your sleeves and transform your orchard into a thriving, productive haven!
🌱 Your Next Step: Plan & Prune
Ready to dive in? Start by assessing your trees—identify dead branches, overgrowth, or disease spots—and schedule your pruning sessions based on the season. Grab your tools, follow the steps, and watch your fruit trees flourish! 🍎✨