
Pruning
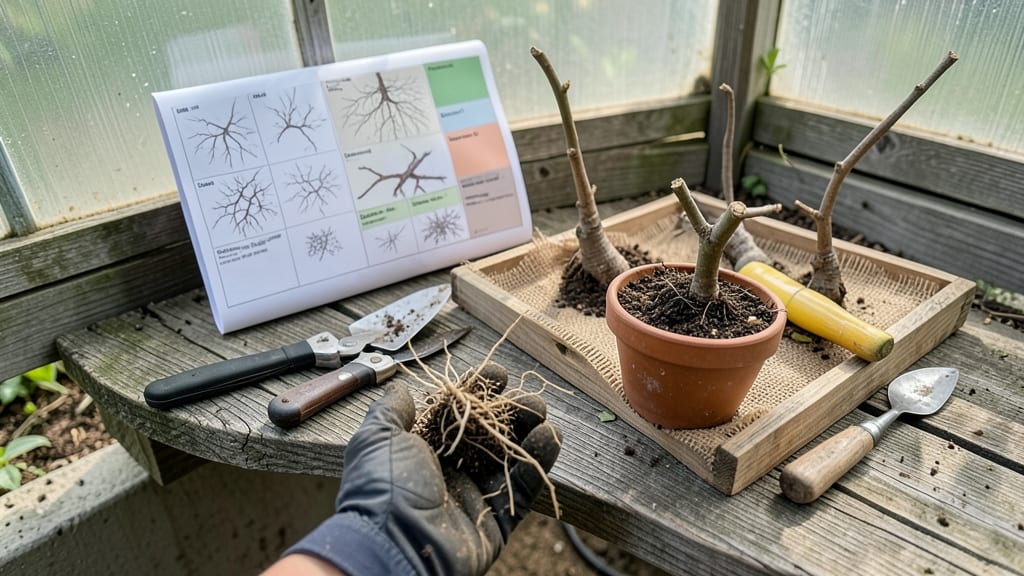
Choosing the right fruit tree rootstocks means the difference between a 20-foot monster and a 3-foot dwarf that fits your patio. 🌳 I’ve wrestled with overgrown trees that swallowed my yard—until I discovered how rootstocks control size, hardiness, and even flavor.
The secret isn’t just in the scion (the fruiting part) but in the roots beneath.
Rootstocks like M9 keep apples tiny enough for containers, while MM106 handles tough winters for peaches. Cold-hardy varieties like Antonovka (apple) or Montmorency (tart cherry) thrive where tender citrus would freeze. The right choice depends on your zone, soil, and whether you want early bearing or long-term productivity.
Once you pick, planting is straightforward: match rootstock to scion (grafting is easier than you think), ensure good drainage, and mulch heavily. Within a year, you’ll see stronger growth and better disease resistance—no more struggling with leggy, weak trees. Even black-thumb gardeners can nail this.
Works for apples, pears, plums, and cherries—just avoid mixing stone fruit rootstocks with pome varieties. Here’s how to pick the perfect combo for your space and climate.
📚 In This Guide
- What you need
- Instructions
- Tips and common mistakes
- Wrapping up and next steps
What you need
- ● Rootstock varieties: Dwarfing rootstocks (e.g., M.9, B.9, or G.41 for apples/pears)
- ● Cold-hardy rootstocks (e.g., Antonovka or M.26 for colder climates)
- ● Quantity: 1–5 bare-root or container-grown rootstocks (depends on garden size)
- ○ Scion wood: Certified disease-free buds/grafts (e.g., Honeycrisp for apples) (optional if buying grafted trees)
- ● Pruning tools: Sharp bypass pruners (1 pair)
- ● Hand saw (1, for thicker branches)
- ● Grafting knife (1, for whip-and-tongue grafts)
- ● Grafting supplies: Grafting tape (1 roll)
- ○ Pruning sealant (1 small tub, optional for wound protection)
- ● Soil & amendments: Well-draining potting mix (5–10 gallons for containers)
- ● Compost (1–2 bags, for nutrient-rich soil)
- ○ Mycorrhizal fungi (1 packet, optional for root health)
- ● Location: Full sun (6+ hours/day) and sheltered from strong winds
- ● Container setup: 5–15-gallon pots with drainage holes (if not planting in-ground)
- ● Watering tools: Hose with spray nozzle or watering can (1)
- ● Mulch: Wood chips or straw (1–2 bags, for moisture retention)
- ● Fertilizer: Balanced organic fertilizer (1 bag, 10-10-10 or similar)
Step-by-step guide to selecting and planting fruit tree rootstocks
Here's how I choose and establish cold-hardy, dwarf rootstocks that thrive in small spaces.
🌱 Step 1: Choose the Right Rootstock for Your Climate and Space
Start by matching your rootstock to your USDA hardiness zone and available space. Dwarfing rootstocks like B9 or M.9 work well for apples and peaches in zones 5-8, while Colt or OTEM handle colder zones 3-5. I always check the rootstock's vigor rating—dwarfing types produce trees that stay under 10 feet tall, while semi-dwarf options reach 12-16 feet.
Consider your soil type too—some rootstocks, like M.26, tolerate heavy clay, while others, like MM.106, prefer well-drained soil. If your garden has poor drainage, avoid rootstocks prone to phytophthora root rot. I test soil moisture by digging a 6-inch hole—if water pools after 24 hours, you'll need raised beds or amended soil.
🪴 Step 2: Prepare the Planting Site and Rootstock
Dig a hole twice as wide as the root ball but no deeper—rootstocks need 1-2 inches of soil coverage at the graft union to prevent rot. Amend the native soil with 2-3 inches of compost mixed into the bottom and sides of the hole. I avoid fresh manure—it can burn tender roots.
Soak the rootstock's roots in lukewarm water for 10-15 minutes before planting to hydrate them fully. Check the graft union (the swollen area where scion meets rootstock)—it should sit 1-2 inches above the final soil level. If your hole is too deep, add a mound of amended soil in the center before placing the rootstock.
☀️ Step 3: Plant and Stake for Stability
Place the rootstock in the hole, spreading roots outward gently—no bending—and fill with soil, tamping lightly every 2 inches to remove air pockets. Water deeply to settle the soil, then add a stake only if needed (young dwarf trees often don't require one). If staking, tie the tree loosely with soft fabric strips to avoid girdling.
Mulch with 2-3 inches of wood chips, keeping it 6 inches away from the trunk to prevent moisture buildup. Water immediately after planting to encourage root contact with soil. I set a watering schedule of 1 inch weekly for the first month, checking soil moisture 2 inches deep—if it's dry, water again.
✂️ Step 4: Monitor and Prune for Strong Growth
In the first growing season, prune only to remove dead or crossing branches—avoid heavy pruning, which stresses the tree. Watch for suckers (shoots growing from below the graft union) and remove them immediately, as they sap energy from the scion. I use sterilized pruners to prevent disease spread.
Fertilize lightly in spring with balanced 10-10-10 at half the recommended rate—rootstocks are sensitive to over-fertilization. Monitor for pests like aphids or mites, especially on new growth. If you see yellowing leaves, it could signal nutrient deficiency (too much nitrogen) or root stress (too much water). Adjust care accordingly.
⏰ Step 5: Winterize for Cold-Hardy Survival
Before the first frost, wrap the trunk with tree guard or burlap to protect it from sunscald and rodent damage. In zones 4 and colder, mound 4-6 inches of soil or mulch around the base to insulate roots. I avoid heavy mulching in warmer zones—it traps moisture and invites rot.
Water deeply before the ground freezes to ensure roots have moisture reserves. Prune dormant branches in late winter, cutting just outside the bud collar at a 45-degree angle. This encourages strong, upright growth. By spring, your dwarf rootstock should burst with vigorous new shoots—a sign it's thriving.
Tips & tricks for perfect fruit tree rootstock planting
Small gardens deserve big results—and dwarf rootstocks deliver when you nail these key details.
Rootstock Selection: When choosing between B9/M.9 (zones 5-8) and Colt/OTEM (zones 3-5), consider your long-term goals. B9 produces trees under 10 feet but may need staking, while Colt handles colder winters but grows slightly taller. I always cross-reference the rootstock's vigor rating with my space constraints—there's no point planting a dwarf if it'll outgrow your patio in 5 years.
Soil Preparation Strategy: The 6-inch hole test for drainage is your best friend. If water pools after 24 hours, amend with coarse sand or perlite to improve aeration. For heavy clay soils, I recommend planting in raised beds with a mix of 60% native soil and 40% compost—this prevents the dreaded phytophthora root rot that plagues many gardeners in wet climates.
Graft Union Protection: That 1-2 inch clearance above soil level at the graft union is non-negotiable. I've seen too many trees fail when buried too deep—it creates anaerobic conditions that rot the graft. Pro tip: Use a small wooden stake as a marker during planting to ensure you maintain that critical height when backfilling.
Pro Tips for Fruit Tree Rootstocks
- Small gardens deserve big results—and dwarf rootstocks deliver when you nail these key details.
- Rootstock Selection: When choosing between B9/M.9 (zones 5-8) and Colt/OTEM (zones 3-5), consider your long-term goals.
- Soil Preparation Strategy: The 6-inch hole test for drainage is your best friend.
Frequently asked questions
Got questions about fruit tree rootstocks? You're not alone! Here are some of the most common concerns—plus straightforward answers to help you get started with confidence.
What’s the best rootstock for a small garden?
For tight spaces, dwarf or semi-dwarf rootstocks like M.9 (apple) or B.9 (peach) are ideal—they keep trees compact while still producing abundant fruit. If you’re in a cooler climate, cold-hardy varieties like Antonovka (apple) or Montmorency (tart cherry) thrive with minimal fuss. Match the rootstock to your tree variety for the best results!
When is the best time to plant a fruit tree on a rootstock?
Plant your tree in early spring (just as buds swell) or fall (4–6 weeks before the first frost). Avoid planting in extreme heat or cold—rootstocks need time to establish before stress sets in. Bare-root trees (sold dormant) can go in even in winter, as long as the ground isn’t frozen!
Are there cheaper alternatives to grafted rootstocks?
Yes! If budget is tight, consider seed-grown trees (though they may take longer to fruit and vary in quality). For rootstocks, nursery cuttings or budding (a DIY grafting method) can save money. Just know that grafted trees (like those on M.9 or G.41) offer more predictable size, disease resistance, and fruit quality.
What do I do if my tree’s leaves turn yellow or it’s not growing?
Yellow leaves often signal nutrient deficiency (try a balanced fertilizer) or poor drainage (amend soil with compost). If growth stalls, check for girdling roots (roots circling the trunk) or root rot (mushy, discolored roots). Prune gently, improve soil aeration, and water deeply but infrequently. If issues persist, consult a local extension service!
Can I mix rootstocks for different fruit trees in the same hole?
Nope! Each tree needs its own rootstock to thrive. Mixing them risks competition for nutrients and disease spread. Plant trees 12–25 feet apart (depending on mature size) and give each its own well-draining spot. Pro tip: Group trees by type (e.g., apples together) to make pollination and care easier!
Wrapping up and next steps
Choosing the right fruit tree rootstocks can transform your small garden into a thriving orchard, even in tight spaces or colder climates! 🌱 Whether you prioritize dwarf varieties for easy maintenance or cold-hardy options for resilience, the key is matching your rootstock to your goals and growing conditions.
With the right knowledge and tools, you’re well on your way to harvesting delicious fruit year after year.
Ready to plant? Start by selecting your favorite fruit varieties and compatible rootstocks, then take the next step—order your trees or gather supplies to begin your orchard adventure! 🌳🍎